Watermark Video Effect
This is a simple effect; it enables you to put a watermark on the image.

Settings
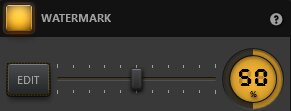
Clicking on the Edit button opens the watermark editor. Using the slider allows you to modify the intensity of the watermark.

Example
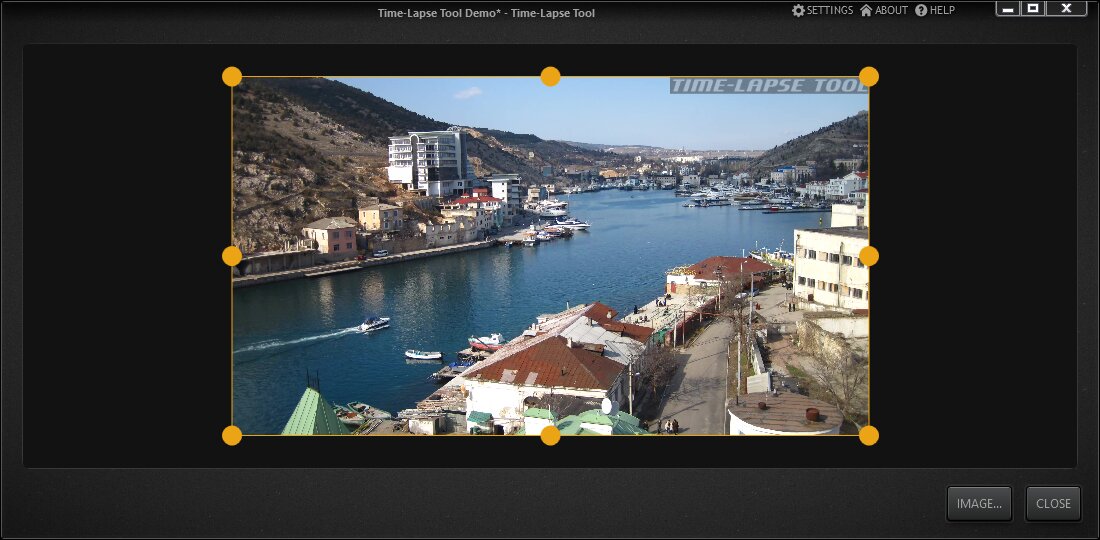
The illustration chosen as an example here is the Time-Lapse Tool text appearing on the top right side of the image. The intensity of the watermark has been set to 50%. And image saved in the PNG format has been used so that the outside of the Time-Lapse Tool logo will be transparent.

If the intensity of the watermark is brought to the 100% position by moving the slider all the way to the right, the watermark becomes completely opaque. Please note that the time lapse software watermark is just a being used as an example in the demo project; it will not show on your projects.

Watermark Editor
The editor helps to adjust the size and position of the watermark image. Clicking on the Image... button allows you to choose an illustration to use as a watermark.

Note: You can add a precise value for the slider. Just double-click on the percentage number to open up the percentage editor.
