Main Application Window
The main operations involved in creating a time-lapse video in Time-Lapse Tool are:
- Adding still images to the project
- Setting the duration of the video
- Applying effects to the images in a sequence
- Previewing the video
- Exporting the time-lapse video
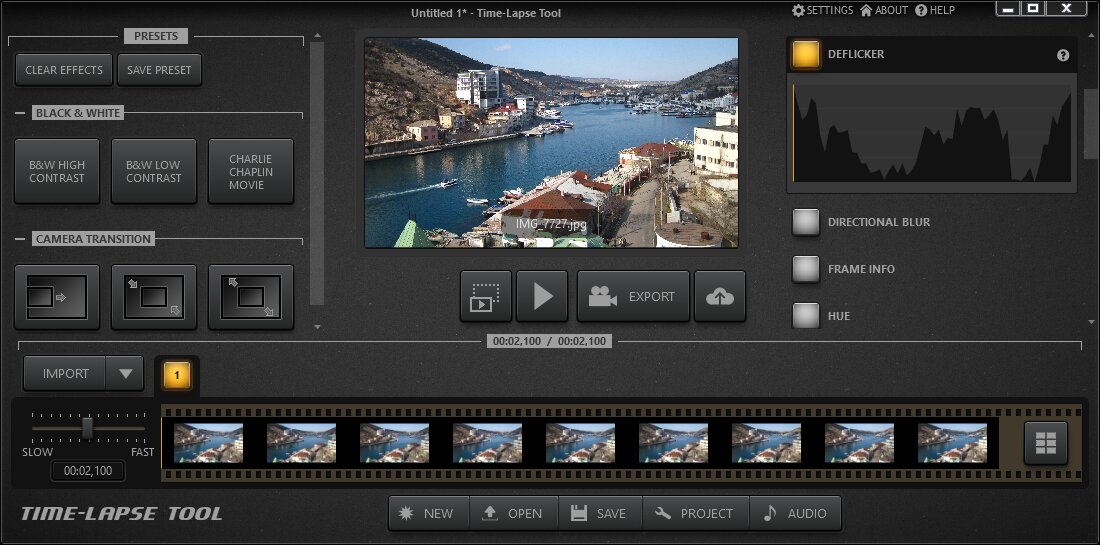
All of these operations are initiated from the main window. The application’s main window contains the following parts:

Video Preview Panel
This Video Preview panel shows the currently selected frame. The selection is indicated on the timeline by a yellow line. The Video Preview panel contains the following buttons to preview or create a time-lapse video from the project file:
- Full-Screen Preview button - opens the preview window in full-screen mode and runs the preview starting from the currently selected frame.
- Preview button - runs the preview starting from the currently selected frame.
- EXPORT button - opens the screen where time-lapse video generation options may be adjusted and video generation started.
- PUBLISH button - opens a screen where the time-lapse video can be uploaded to YouTube.
Note: We have significantly improved the quality of the preview in version 2.0 of the application. However, HDD and CPU speed limit the preview quality significantly. Preview FPS can be very low for 10-megapixel images for non-SSD drives, or for slow CPUs.
Timeline Panel
At the top of the panel, you can find the list of sequences. The currently selected sequence is highlighted in the list. The IMPORT button opens the import screen. With this button, new sequences may be easily added to a project.
Right clicking on a sequence button shows the popup menu. From this menu, the sequence can be removed or be moved to another position in the project.
- Refresh Sequence commands the software to reimport images from the folder for each sequence in the project.
- Show All Frames - expands the collapsed frames list.
- Reverse Frames - reverse the order of the frames in a sequence.
- Remove Sequence - removes the selected sequence from the project.

There is a duration slider on the lefthand side of the panel. It allows you to change the duration of the currently selected sequence.
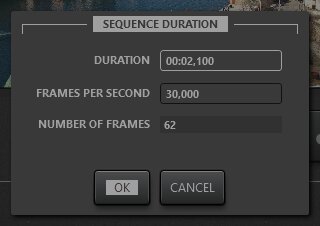
If you need to set the FPS value or duration more precisely for a sequence then you may click on the duration label below the slider in the duration editor, and enter the exact values.
The bottom of the panel shows all of the frames.
By default, the sequence frames list is collapsed and shows only a few frames from the sequence.

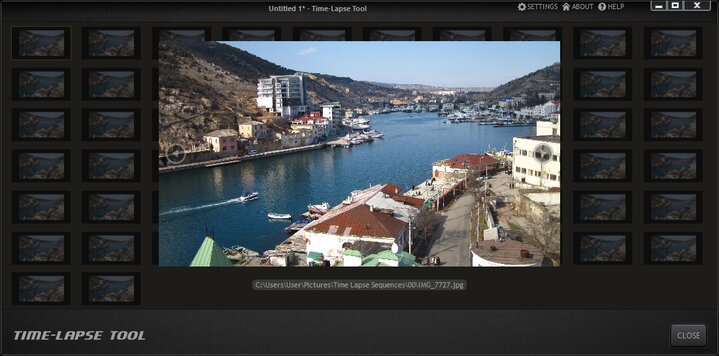
To see all of the frames in the sequence click the Expand button right after frames.
All frames are shown in a separate list. Double-clicking on a thumbnail in the list shows the full-size image. A popup menu with the frames and sequence operations is available here as well. In addition, any frame can be removed from the sequence by pressing the Delete key.

Right-clicking on any frame displays a popup menu. The menu contains the following items:
- Remove Frame - removes the selected frame from the sequence.
- Rotate - rotates either the selected frame or all of the frames in the sequence.
- Split Sequence - splits the sequence into two sequences from the selected frame. This could be useful when you want to apply a different set of effects to part of a sequence.
It is possible to create a "sequence" from a single still image. This could be useful for showing captions before or after the video. Right-click on the IMPORT button to add sequences created with a single image to the project. The popup menu is shown with the Add Single Image... item. Choosing this item displays a file dialog to open the image file.